


In a world where users demand fast, quality software, it is our job as developers to provide them with exactly that. So, what do you do when users need your app to run continuously, you need to add a new feature, but you can’t afford the downtime frequently associated with redeployment? The answer is simple - you use feature flags!
What are feature flags?
Feature Flags are mechanisms that allow developers to enable or disable application features without having to deploy the code. Simply put, they are variables whose values can be changed remotely, without having to touch the code again. It makes integrating new features and customizing user experience simpler than ever. It’s not only easy to use but also easy to integrate into your code, whether you are starting from scratch or integrating into an already existing app.
Using Feature Flags in Angular
I'll show you how to quickly add Feature Flags to an Angular application. To control the flags, I'll use ConfigCat’s feature flag service, and I'll guide you through each step.
We'll create a basic voting page as a sample app, where users may assign a vote to a photo. In a contest, you might wish to stop the voting at a certain moment, or that feature to be turned back on after a while. It will actually be as easy as pressing a button using ConfigCat's interface. So, let's get started and build an Angular application that showcases the power and simplicity of feature flags. You can find the completed application here.
Prerequisites:
- Node.js and npm package manager
- Knowledge of HTML, CSS, and JavaScript
Create the Angular application
The first step in our journey is to install the angular command line that will allow us to then create the Angular project. Head over to the terminal and use the command below.
npm install -g @angular/cli
Next, create the Angular project by using the ng command. Be sure to choose the folder where you want your project to be located. You will be prompted for more information about features, but you can go ahead and accept the defaults by pressing enter.
ng new votingPage
To open the app, simply enter the project folder and run ng serve. The --open flag automatically opens the development server on a new browser page. If you skip this flag, you can manually head over to localhost:4200 to see your app in motion.
cd votingPage
ng serve --open
If everything works correctly, you should be able to see the default Angular project page.
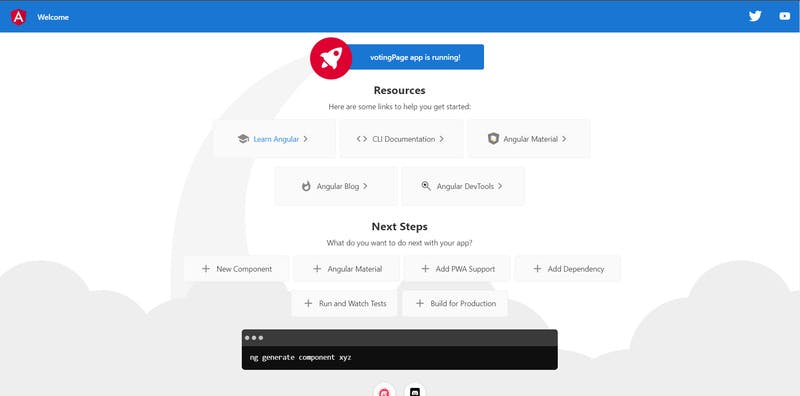
Now, we’re going to build the feature flag before returning to add it to the application.
Creating a Feature Flag using the ConfigCat Dashboard
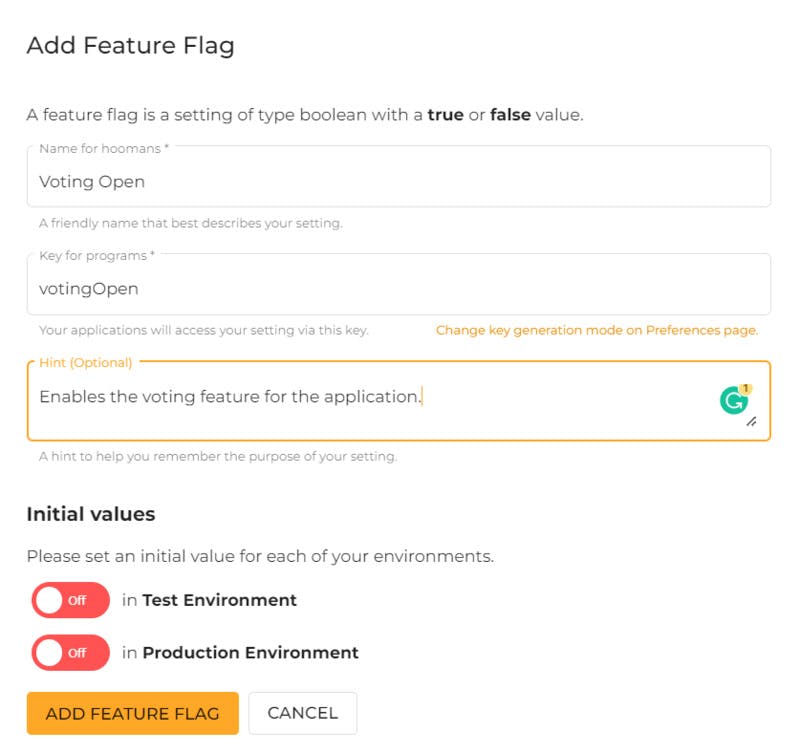
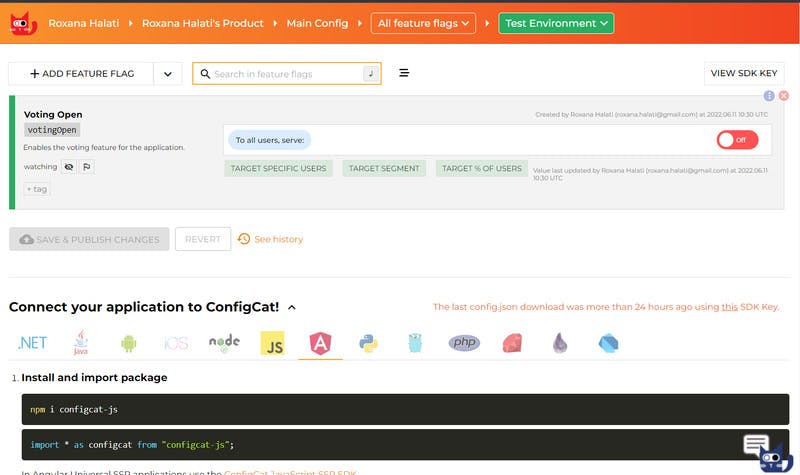
Head over to the ConfigCat Dashboard, sign up for a free account, and log in to view your dashboard. Start by clicking on “Add Feature Flag” and create a new flag as in the screenshot below.
 You can now see the flag in your dashboard. For this sample app, we’re going to enable and disable features for all users. However, there is much more that can be done to target specific users.
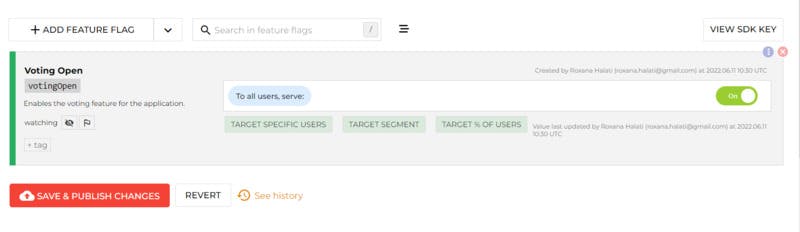
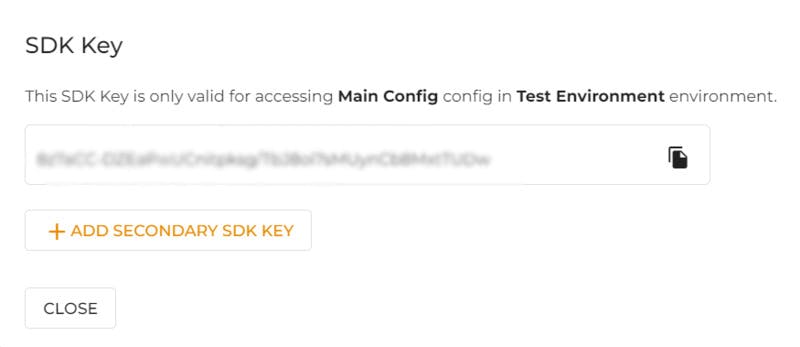
One last thing you need to do is look for your SDK key. You can find it in the right upper corner. We’ll use this key in just a moment.
Adding the Feature Flag to the Angular application
Now that we have the flag, it’s time to integrate it with our application. Open your Angular project in a code editor and head over to app.components.ts.
First, we’re going to install the ConfigCat SDK to our project by inputting the following command in the terminal.
npm i configcat-js
Now, let’s import it in the app.components.ts
import * as configcat from "configcat-js";
It’s time to dive into coding. First, we’ll create a local variable that will keep the boolean value of our feature flag. Then, create the ConfigCat client in the constructor. Remember the SDK key from before? This is where you need to input your own.
  votingFeatureEnabled:boolean = false;

  constructor() {
    let configCatClient = configcat.createClient("YOUR_SDK_KEY");
    configCatClient.getValueAsync("votingOpen",  false)
    .then( value => {
      this.votingFeatureEnabled = value;
    });
  }
So far, you should not notice any changes in your browser. That’s because we have yet to modify the HTML or CSS parts of our application.
Go to app.components.html, delete the preexisting code and replace it with the snippet below.
<div>

  <h1>Welcome to the voting system</h1>


  <img src="https://configcat.com/images/home/logo.svg" alt="ConfigCat Logo" width="200" height="200">

  <div id="votingForm" *ngIf="votingFeatureEnabled; else votingClosed">

    <input type="number" id="vote" name="vote" min="1" max="10">
    <button type="button">Send Vote!</button>

  </div>

  <ng-template #votingClosed>
    <h3>Sorry, voting has ended. Stay tuned to see the results! </h3>
  </ng-template>

</div>
Let’s see what we have done here. We’ve added a photo using the img tag and set a direct link to it. We want to have two different scenarios for the users: one in case voting is open and one when it’s closed. However, HTML does not have an if statement that would allow us to check whether the flag is enabled or not.
That’s where ngIf comes into play. It’s essentially Angular’s way of adding an if statement into HTML.
In our case, we’re checking whether the votingFeatureEnabled variable is evaluated as true or false. If it is true, the application will display an input and a “Send Vote” button. Otherwise, we’ll see the contents of the ng-template tag: a message that informs the user that voting is closed.
Now, head to app.component.css and paste the following CSS code. This will arrange elements in the center of the page and place the button underneath the input. This is totally optional, but it will give a nicer look and feel to our application. Feel free to add your personal touch.
  div {
  text-align: center;

}

#votingForm {
    display:flex;
    flex-direction:column;
    width: 10%;
}
Save the changes and head over to the open browser page of your application. The Angular development server automatically updated, so you should already see the following:
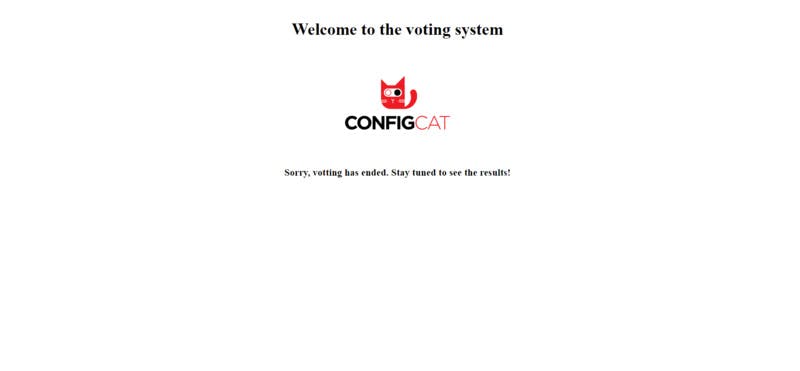 The voting feature is off because our feature flag was automatically set as false when created. Head over to ConfigCat dashboard and toggle the flag as On, save and publish the results.
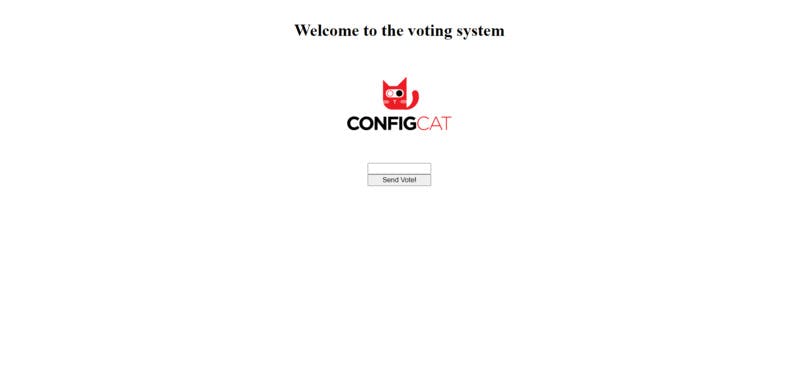
 Refreshing the browser page should give the following result:
 Just like that, you’ve added your first feature flag to an Angular application using the ConfigCat SDK and dashboard. As I mentioned above, there’s much more that you can do with feature toggles, such as detailed customizations for user segments. You can see more flags in motion on the ConfigCat website.
So what do you think? Pretty easy, right?
You can find more information about ConfigCat on: Facebook, Twitter, and LinkedIn.